When entering the summer season our expectations of an amazing summertime is always full of moments of joy and love. To guarantee your perfect summer here is a list of pool season essentials that will help you enThere are several reasons why installing a DIY fiberglass pool might be the perfect project for you:
Cost savings:
Doing it yourself can save you a lot of money compared to hiring a professional installer. With the money saved, you can invest in quality materials and additional features for your pool.
Customization:
A DIY project gives you complete control over the design and layout of your pool. This allows you to tailor every aspect to your specific preferences and needs, creating a unique and personalized backyard retreat.
Satisfaction:
There’s a great sense of accomplishment that comes with completing a DIY project. By installing your own fiberglass pool, you’ll feel proud knowing you created something beautiful and functional with your own hands.
Now that we’ve covered some benefits of DIY fiberglass pool installation, let’s dive into the step-by-step process:
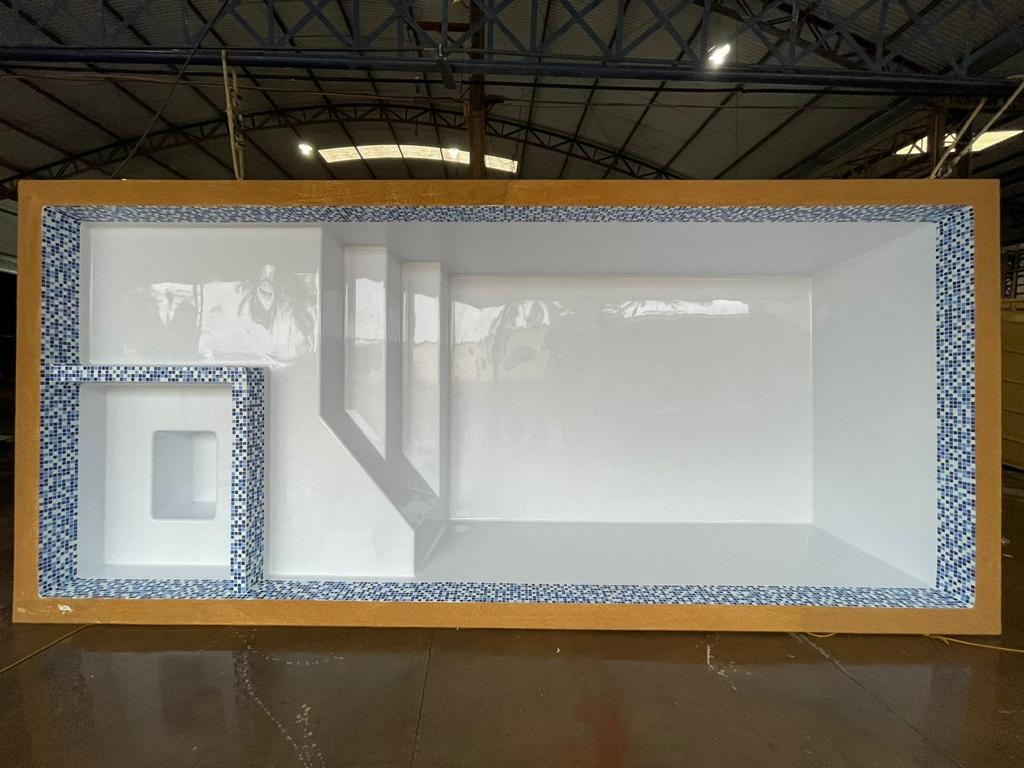
Choosing the pool shell:
Start by evaluating your backyard and your goals for it. Think about size, usability, aesthetics, safety, and any other concerns. Pick a shell design based on these factors. We offer a variety of shell designs to meet your expectations and ensure enjoyable moments for you and your loved ones.
Laying out the pool:
Mark where the pool will go in your yard. Measure the length, width, and depth of the hole needed for your specific pool model. Discuss the placement and any landscaping wishes beforehand to ensure everything is considered before excavation begins.
Excavation:
Begin the excavation by removing grass and dirt using excavators and backhoes. Follow your measurements carefully, making sure to dig out enough space for necessary plumbing and accessories. You can rent equipment or hire professionals for this part of the work.
Setting the floor:
Once the excavation is done, lay a bed of gravel to provide a stable base for the pool. Use screed bars as guides for the slope and compact the gravel to ensure the floor is level and stable. This step is crucial for the pool’s stability.
Pool Delivery and placement:
Have the fiberglass pool shell delivered to your home. Once the pool is lowered into the hole, check all levels to make sure it is perfectly in place and ready for plumbing and backfilling.
Plumbing and backfilling:
Install the necessary plumbing, including fitting a skimmer box, installing deep end suction fittings, and return fittings. Connect the PVC pipes from these items to the pump and filter. We also recommend installing a groundwater access pipe or hydrostatic pressure release. As you backfill around the pool with gravel or flowable backfill, simultaneously fill the pool with water to provide equal pressure and stability on both sides of the fiberglass walls.
Coping and deck:
Install pavers or coping materials around the top of the pool and bond beam to enhance its beauty. Finish the decking and add any desired landscaping and fencing to complete the project.
Installing a DIY fiberglass pool is a manageable and rewarding project with the right planning and effort. By following these steps, you can transform your backyard into a stunning retreat that provides endless enjoyment for years to come.
Ready to start your DIY fiberglass pool project? Contact us today for high-quality fiberglass pool shells and expert advice.
Visit our website or call us to speak with one of our pool experts and get started on your journey to a beautiful and functional pool.joy your dream pool to the fullest!